
Buying guide · United States
Published September 23, 2026 · Sources listed below
How to Choose Fuse Beads
Start with the person and the project, then buy the matching bead size, pegboard, and colors. This guide covers the decisions that matter at a U.S. craft-store shelf or online checkout, from a first small kit to a detailed pixel-art build.
Jump to the shopping checklistFirst, identify the craft
Buy iron-fuse beads for an iron-fuse pattern
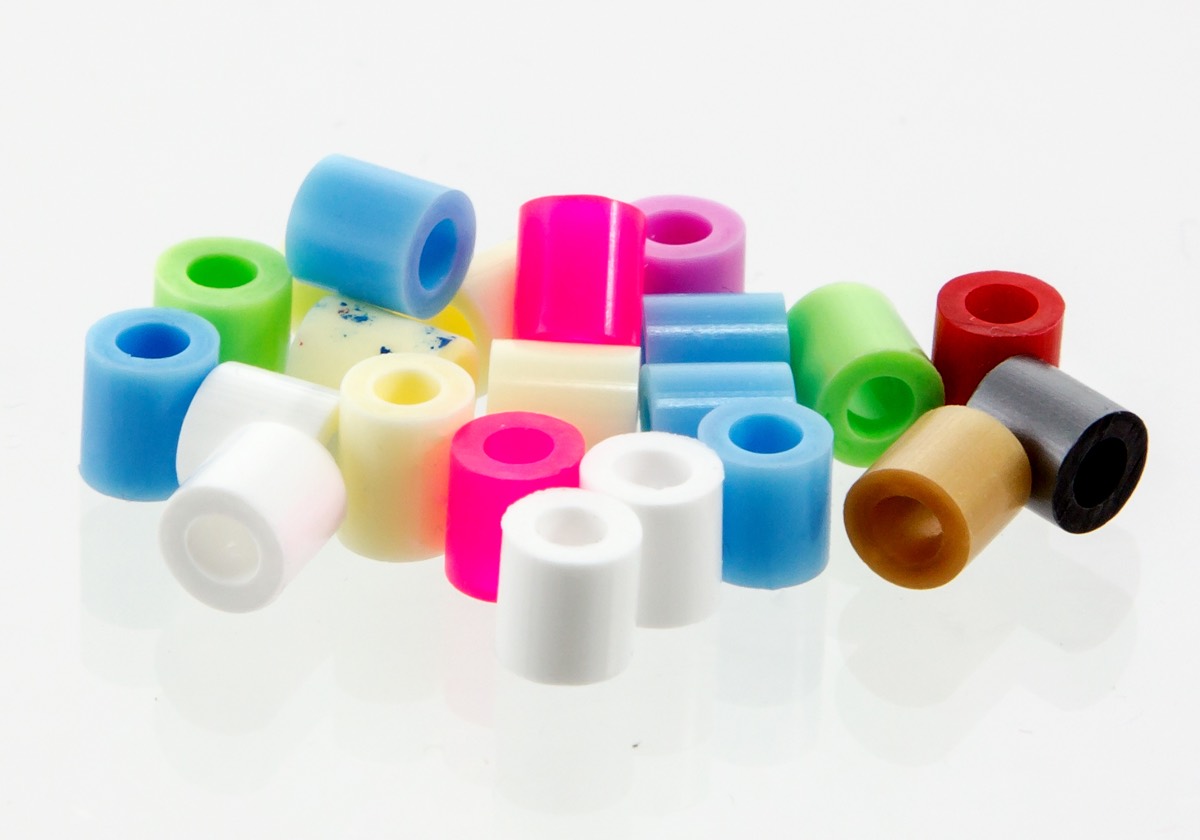
Listings may say fuse beads, iron beads, melty beads, or Perler beads. Perler is a brand; fuse beads is the broader category. The beads in this guide are small plastic tubes placed upright on a pegboard and joined with heat. Water-fuse beads follow a different process, so check the package before ordering a refill.
If you already have a pattern, read its bead size and brand color codes first. A pattern made for 5 mm beads will need a 5 mm board; a color name on one brand’s chart may not match another brand’s shade.
Decision 1
Choose the size before the brand
Hama’s published system is a useful size reference: Maxi is 10 mm, Midi is 5 mm, and Mini is 2.5 mm. Its stated recommended ages are 3+, 5+, and 10+, respectively. Those are Hama’s product recommendations, not interchangeable age ratings for every brand. Read the actual package you buy. Hama size and age FAQ
| Size | Best fit | Tradeoff | Buy with it |
|---|---|---|---|
| Large / Maxi | Simple shapes and easier placement | Fewer details at the same finished size | Matching large-bead board |
| Standard / Midi | Most first projects and familiar pixel art | A large image takes more space and beads | Matching 5 mm board |
| Mini | Fine details in a smaller finished piece | Slower placement; easier to spill | Matching mini board and fine tweezers |
A practical default for an older child or adult beginner is a standard-size kit with a square board. For a younger maker, follow the specific package’s age label and consider larger beads if the product is age-appropriate. Loose beads must stay away from children under three because they are small parts; larger-looking craft beads are not automatically safe for toddlers. CPSC small-parts guidance
Decision 2
Choose colors for the project you will actually make
A small themed kit is a sensible first purchase when it includes the colors and board for one design. A large mixed tub gives you range for experiments, but you may spend time sorting and still run short of a key shade. For a portrait, logo, or large mosaic, make the pattern first and use its bead counts to buy the missing single colors.
Think about usable colors, not the largest color count printed on the box. A simple character may need only black, white, a few midtones, and an accent; a photo may need several nearby shades to show depth. Transparent, glow, glitter, and striped beads can be fun accents, but they do not behave like solid colors on a screen-based pattern chart.
The Meltbead pattern maker can turn an image into an editable bead grid and material list. Use its counts as a starting estimate, then leave extra beads for placement mistakes and test fusing.
Decision 3
Check what comes in the box
A refill bag is just beads. A kit may include a board, paper, tweezers, and a pattern—but contents vary. Perler’s trial kit listing, for example, names beads, a pegboard, and ironing paper. Read the exact contents before buying.
Matching pegboard
A large square is flexible for pixel patterns. Check the bead size and board size; multiple boards need to connect if the design crosses seams.
Ironing paper
Use the paper specified by the bead maker. It separates the iron from the beads and board. Do not put the iron directly on plastic.
Tweezers and shallow trays
Optional for standard beads, more useful for mini beads and for keeping colors sorted.
Pattern and storage
A printed or on-screen grid prevents guesswork; lidded compartments keep refills organized.
Decision 4
If you mix brands, test a small patch first
Beads that share a nominal size may fit the same grid, but they can differ in height, color, and how they soften under an iron. Keep one brand for a first project or a finish-critical gift. If you want to combine brands, place a few of each on the intended board and fuse a small sample before committing to a large piece.
Perler’s official FAQ recommends a test patch to learn the heat, timing, and pressure for a project. Its standard method calls for ironing paper, medium heat, and an adult to do the fusing. Follow the instructions for the actual beads and board on your table.
Three workable carts
What to buy for your first project
One small project
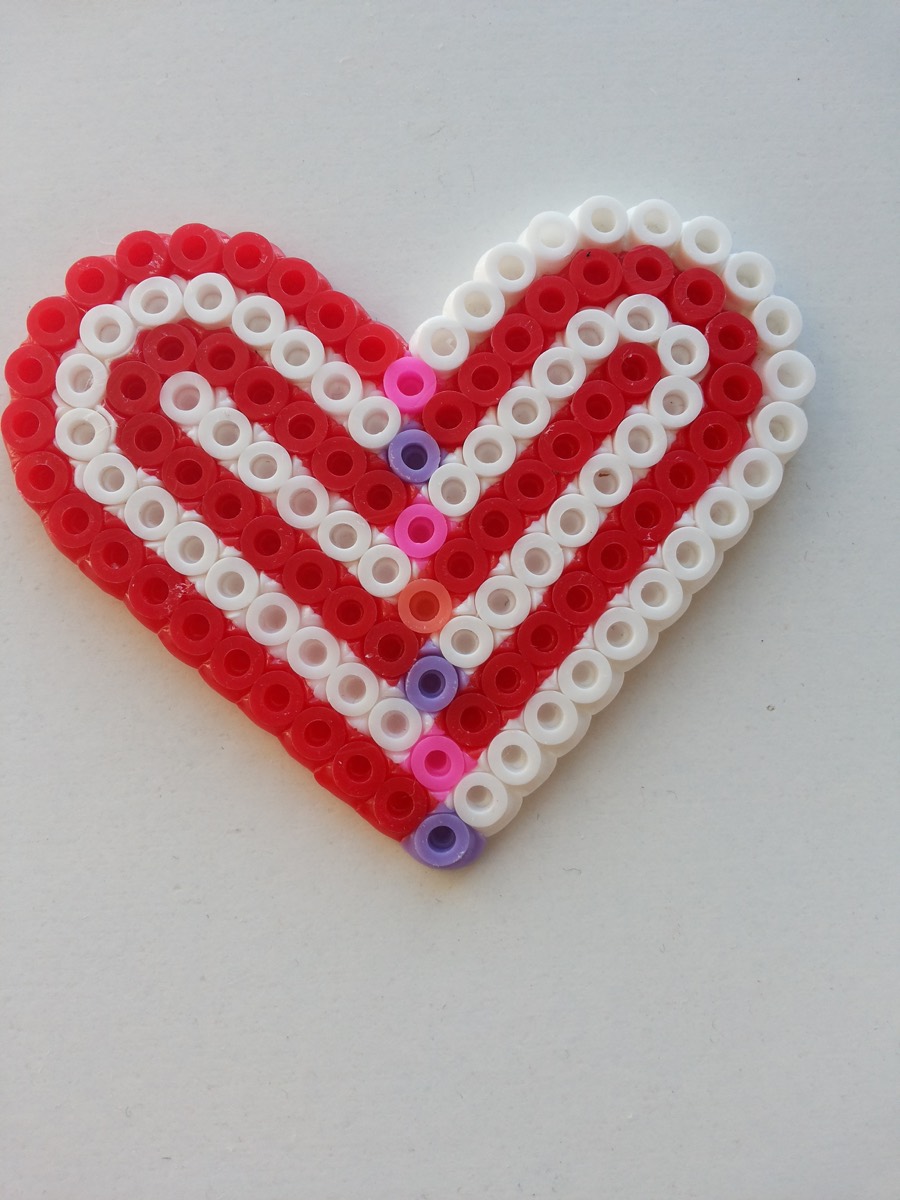
An age-appropriate standard-size kit with a matching board, pattern, and ironing paper. Add a shallow sorting tray if the beads come mixed.
Detailed pixel art
Choose a brand palette and bead size first. Get a square board system, the pattern’s required single colors, fine tweezers if using mini beads, and enough paper for the full design.
Classroom or group
Choose an age-appropriate size, duplicate boards so makers can work at once, sort popular colors into labeled containers, and keep the ironing station adult-operated.
Before checkout: confirm iron-fuse beads, bead size, matching board, required colors, included paper, package age guidance, and who will handle the iron.
Want to examine PE, LDPE, PVC, “non-toxic,” and formaldehyde claims before buying? Read our guide to fuse bead materials and safety claims. If you are new to the craft, start with what fuse beads are and how they work.
Primary references
Sources used in this guide
- Hama: Questions and answers: Mini, Midi and Maxi sizes and ages
- Perler: Frequently asked questions: materials, test patches and fusing
- Perler: Standard fusing method
- Perler: Fused bead trial kit: what an introductory kit contains
- U.S. Consumer Product Safety Commission: Small parts ban and choking hazard labeling